
Installation
Learn how to install the media player that runs your broadcast network.
Install Media Player
Setting up The Scholastic Network on your campus is quick & painless. If you know how to connect your phone to the Wi-Fi, you can set up The Scholastic Network at your campus.
Unbox Media Player
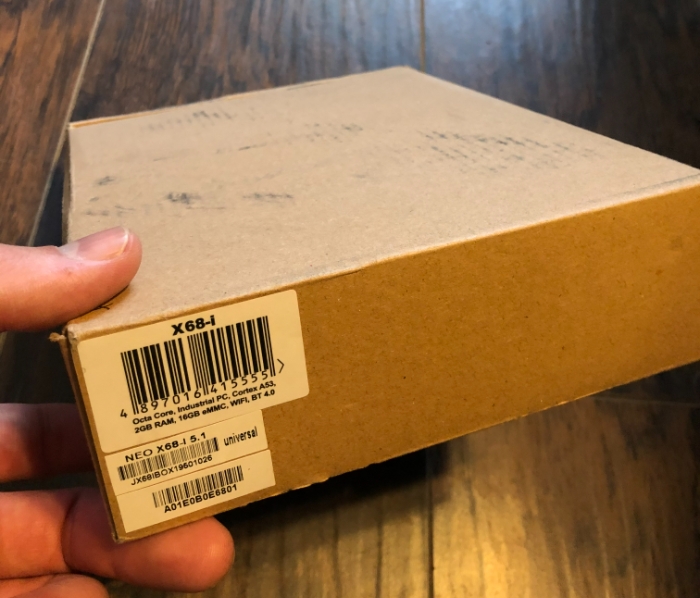
First, locate the media players you were mailed. They media players are packaged in these boxes:
Unbox the media player:
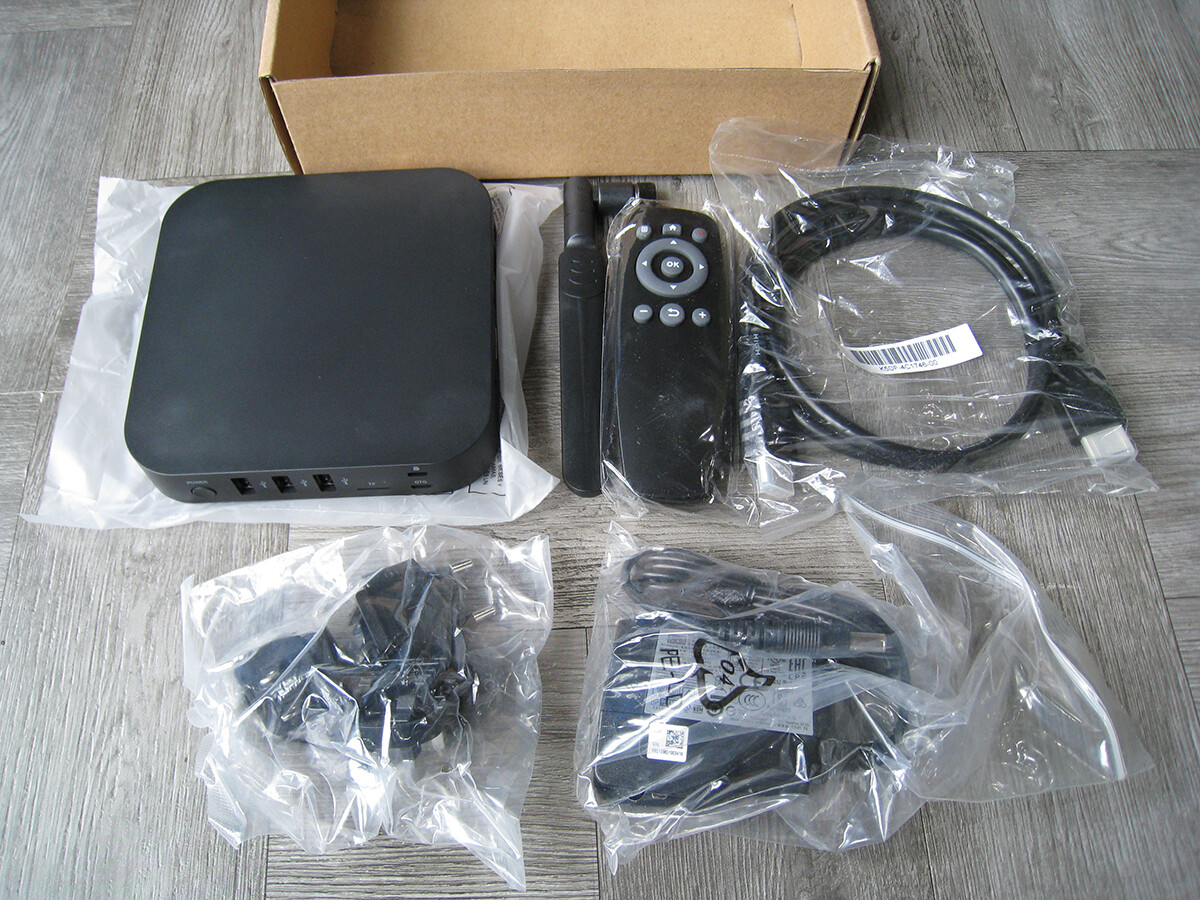
Open up the power outlet adapters and pick out the one you need. You can set this up like so:

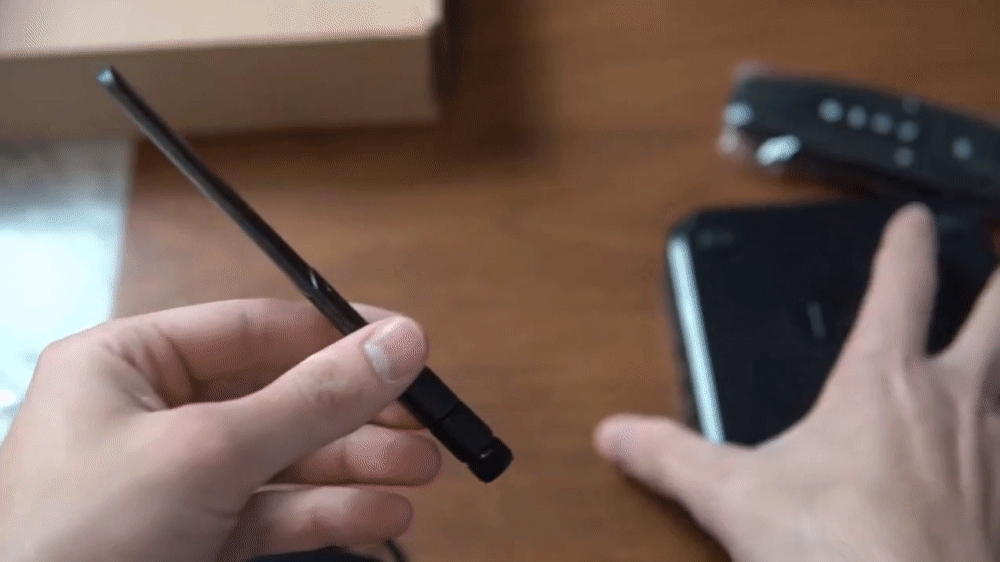
Screw on the antenna if the media player will be connected over Wi-Fi. If the device will be connected via Ethernet, then you can leave the device as-is.
Configuring Media Player
Connect the power supply to the media player and plug it into a power outlet.
You will know the media player is properly powered on when you see a blue light emitting from it. If the light is green, it is in standby mode and you need to press the power button on the side of the media player.
Plug the HDMI cord into the media player and connect the other end to the TV.

If you are going to connect the device to Wi-Fi, it is a good idea to grab a keyboard and plug it into the device. If you are just using Ethernet, then the Minix remote that came with the device will suffice.
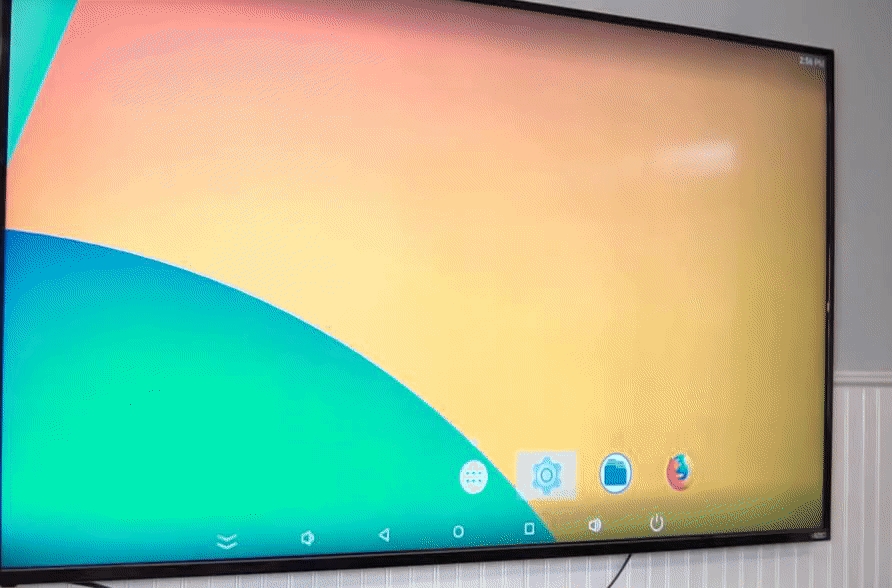
When the device has fully booted up, you should be inside of The Scholastic Network app.
If you are connected via Ethernet, the login page should be showing and you are clear to go ahead and move ahead to the ‘Logging Into Media Player’ section.
Connecting via Wi-Fi
If you are connecting via Wi-Fi, you will need to input your Wi-Fi credentials before anything else. You can do this by opening up the Settings app and clicking on Wi-Fi:
Select your Wi-Fi network and insert your Wi-Fi credentials and wait for a successful connection.
After the Wi-Fi connection is successful, open up The Scholastic Network app:

Logging Into Media Player
The login page should appear if your internet connection is working with zero content-filtering issues or authentication errors:
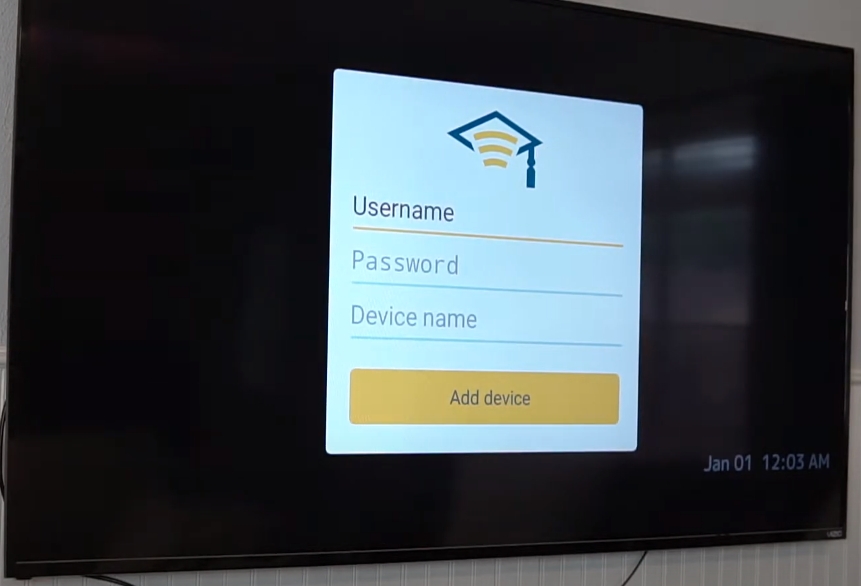
Login using your school’s system code provided by your Scholastic Network contact. If you do not have this code, reach out to your Scholastic Network contact and they will provide it for you.
Insert this code into both the username and password fields. Lastly, name the device based on the location of the device, such as ‘Library’ and click ‘Add Device’.
If login was successful, the screen will display this message:
If the login is invalid, please upgrade the Scholastic Network app by opening the Firefox or Google Chrome app on the media player and navigating to https://portal.thescholasticnetwork.com/app.apk and installing the downloaded app.
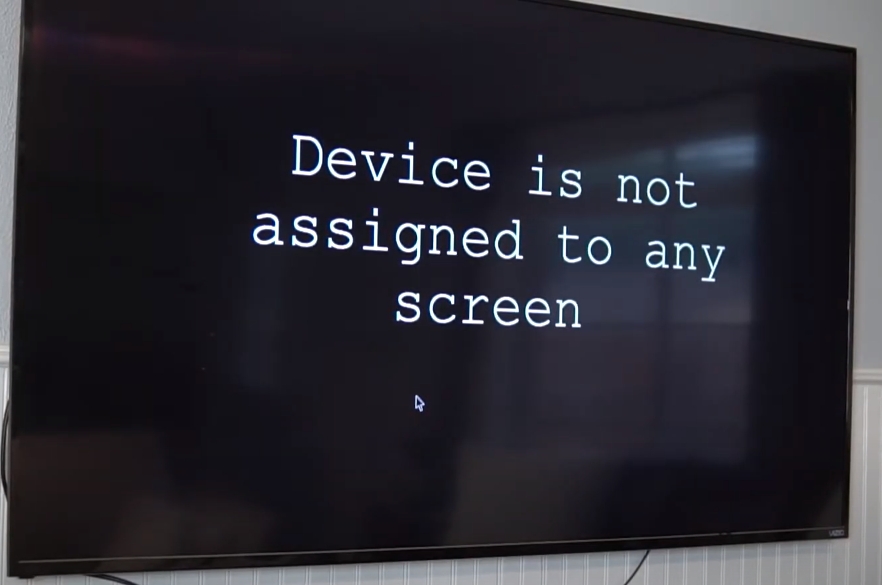
This screen is now ready for linking! Contact us at [email protected] to have us create the new screen and link the new media player to your network.
Last updated
Was this helpful?